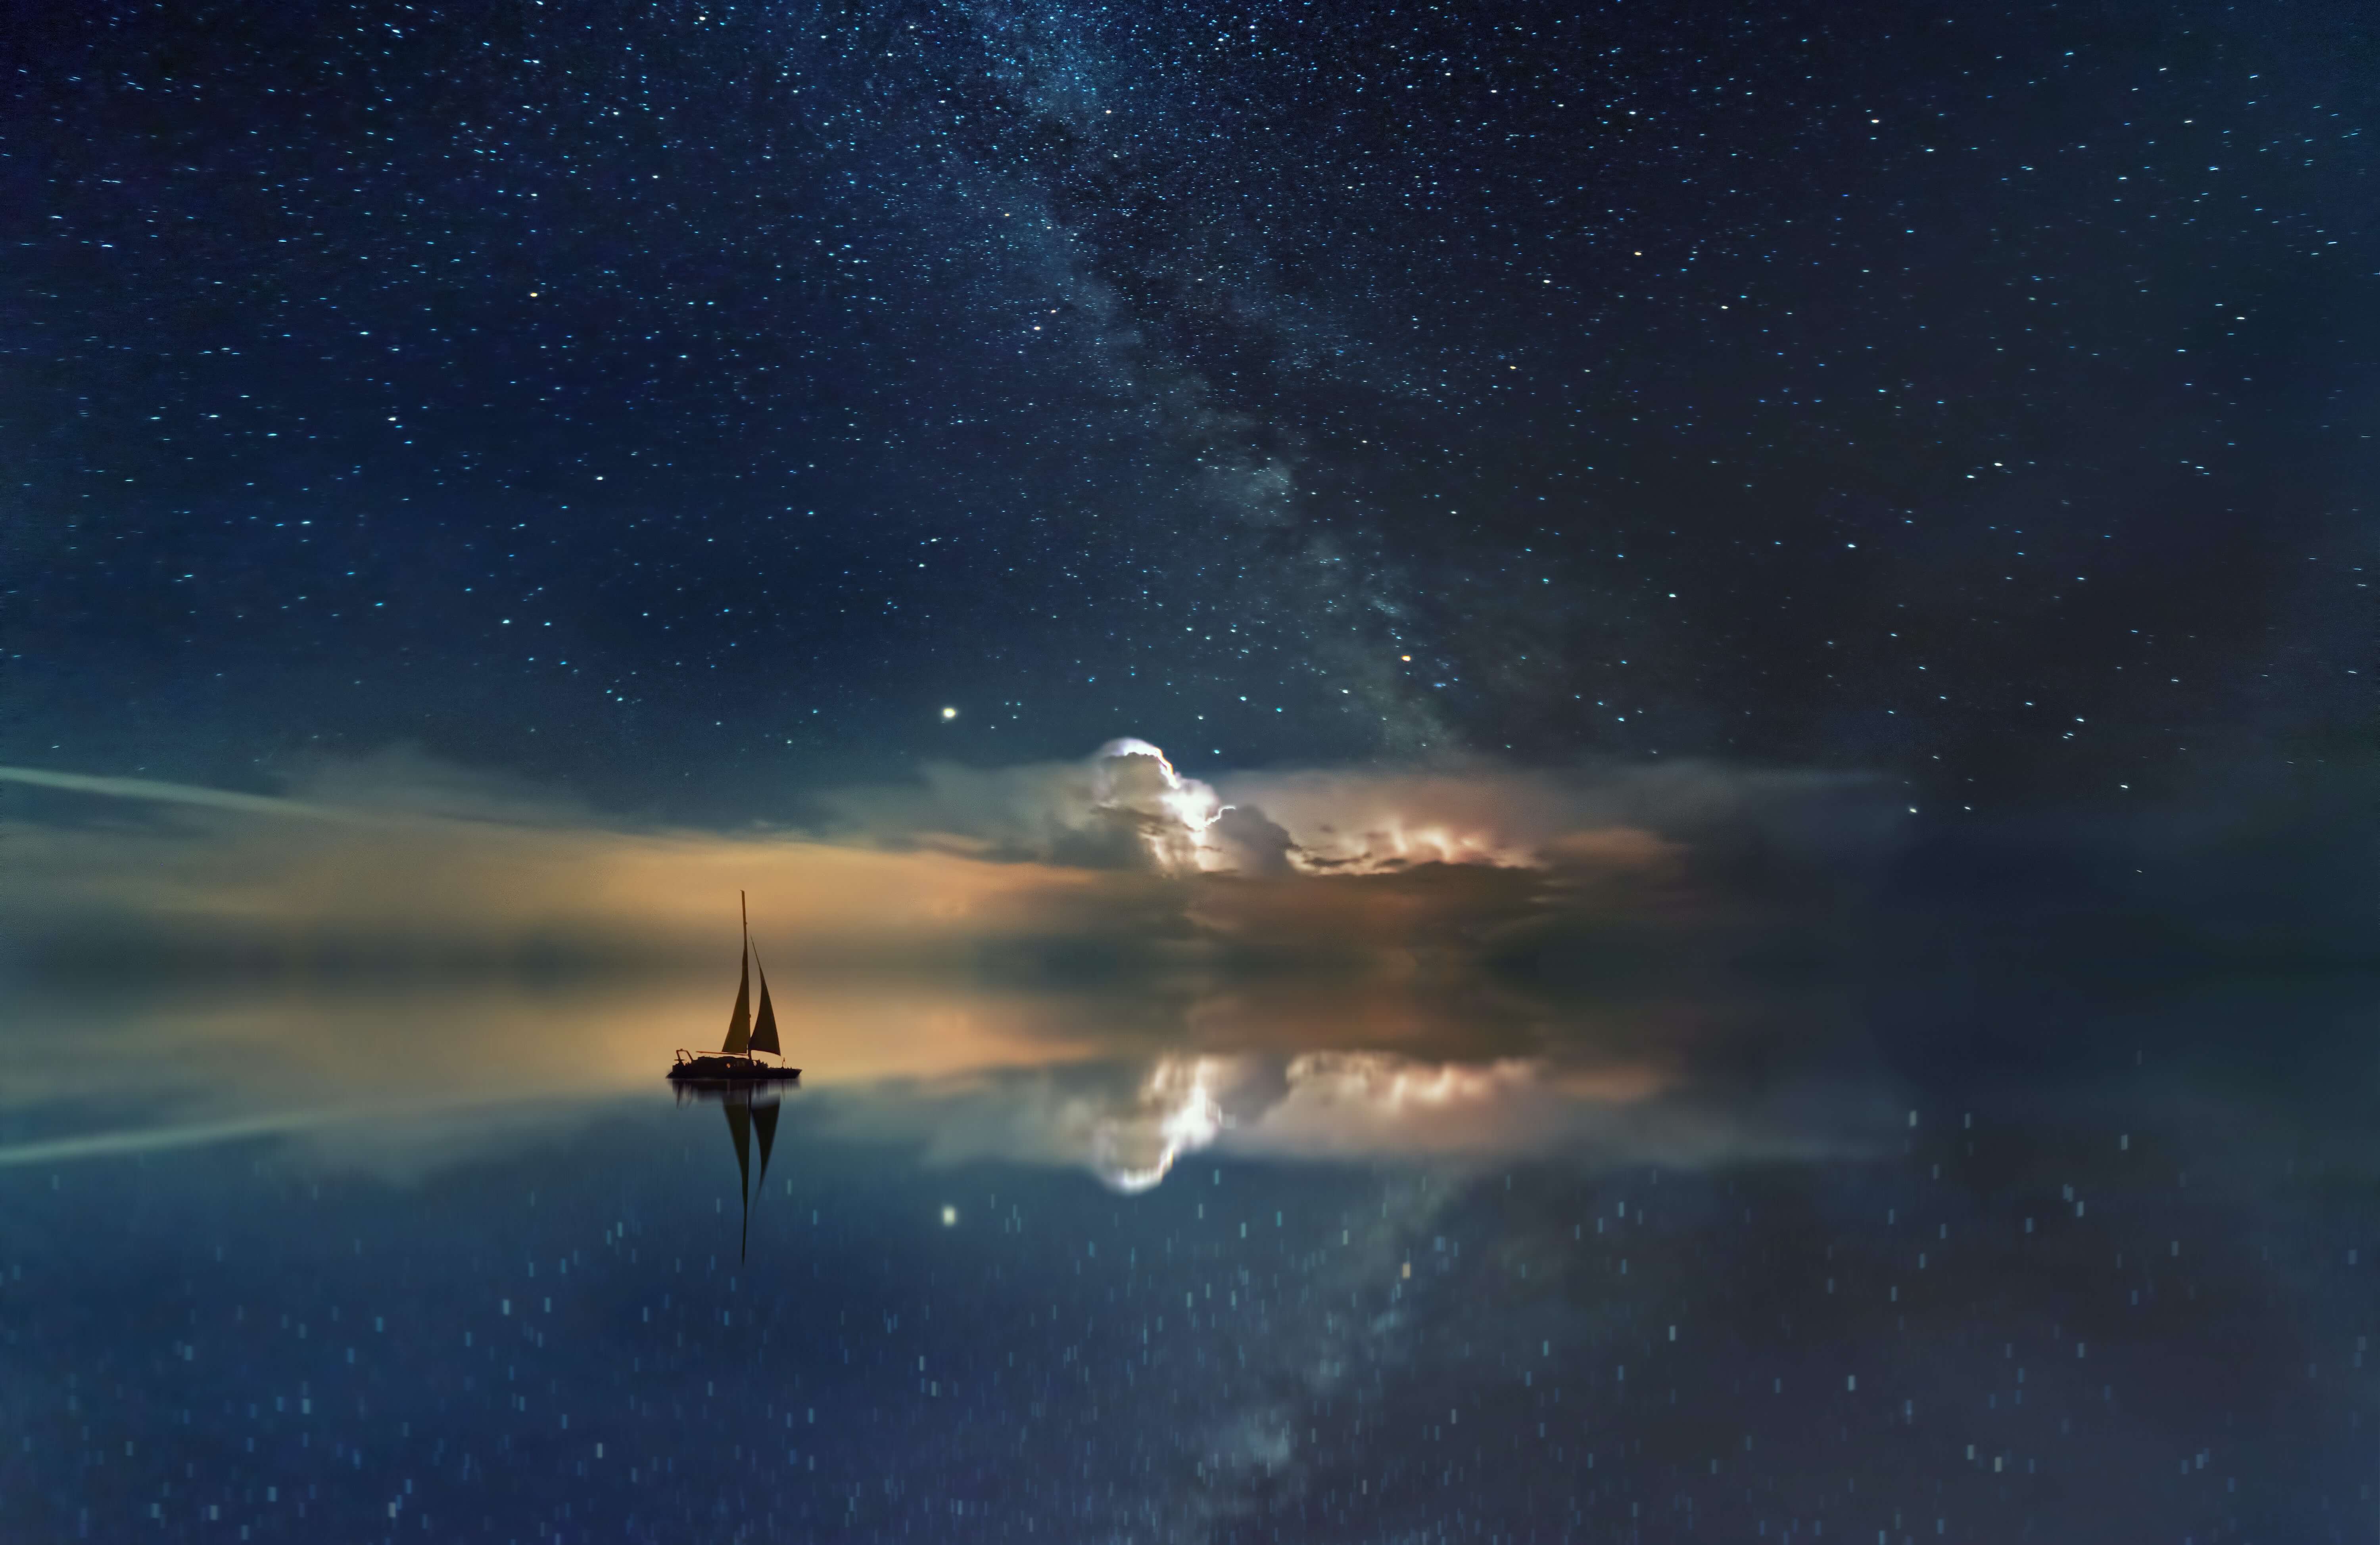
Although day-for-night filming has a terrible stigma, with the right knowledge, it’s more than possible to get amazing effects that aren’t achievable when shooting at night.
To save money, a filmmaker would frequently shoot during the day instead of at night. Nighttime lighting configurations are typically expensive and difficult to shift. By filming during the day, filmmakers usually employ a number of well-tested techniques to substantially cut down on both time and equipment.

Choose the right time
The finest day-for-night results are often obtained in the middle of the day when the sun is at its highest. It will require a lot of work to fix in the post-production because moonlight is much less apparent in the morning and the evening than sunshine is.
Figure out the exposure
Do not overexpose your video ‒ this is the main rule. Editors would often underexpose the frames by up to three full stops in order to achieve the optimum effects. If the highlights of an image aren't toned down, switching from day to night in post-production might not be achievable.
Adjust the white balance
If you're shooting raw, lower the camera's white balance. This makes it easy to modify the image in post-production by giving the image a colder appearance.
Work with the contrast
There are only a few severe shadowy patches in the broad brightness. In contrast, a night light has less overall lighting and a significant amount of deep shadow. Correcting the appearance subsequently might be difficult if the contrast is off. It’s a trial and error progress, but eventually, you will get the perfect result by tweaking the contrast.
Editing Day for Night footage in Premiere Pro
Reducing overall exposure is the first thing that has to be done. When changing exposure, we want to pull the highs substantially down while doing everything we can to deepen the shadows and the bottom end of the image.
After making the necessary adjustments, we'll go on to the curves section and reduce the reds and greens before altering the blue tones and exposure curves.
Next, reduce the highs in the red and green channels in order to subtly improve the blues in the image's high end. We’ll slightly increase the shadows for the blues. This definitely aids in selling the fundamental corrections we made before. After setting an anchor point in the center of the curve, we will additionally modify the exposure by slightly clipping the highs and crushing the blacks before closing the curves panel.
At this point, we have already successfully changed the original photo from day to night, but let's utilize the opacity tools to replace and improve the sky to further emphasize the impact.

How to do the sky replacement
Day for night color experiments are usually that thing that makes everything perfect.
First, find a night sky photo that will go nicely with the cloudy sky in the original shot and has some wonderful wispy clouds and a full moon. Resize the new sky and place it roughly in the desired location. Don't forget to blend it in well.
To put the full moon where you want it in the frame, you must first isolate it. A day-to-night transition will be more believable if you add the moon or stars, especially if you’re going after a mysterious atmosphere. The sole remaining step, based on the lighting for the image, is to locate a region of the frame where the moon fits best by altering a circular mask.
Once the moon has been placed, outline the background with a simple mask before modifying the expansion to help with the mix. To desaturate the new sky and base the blend on each shot's brightness levels, just switch the opacity blend mode to Luminosity from this point on.


