That problematic, straight-line horizon has long been a challenge for both photographers and filmmakers. Although the human eye is drawn to and actually appreciates perfectly straight lines, it can be really bothersome when those straightnesses are just a little bit wrong.
The safest approach to guarantee your horizon will be exactly symmetrical while filming against a background with a horizon is to use the following techniques:
- minimal movement;
- installation of a tripod or sturdy support (or a gimbal that is well adjusted).
Nevertheless, not every video is like this. You'd be shocked at how frequently you get to the editing stage only to discover that the horizon still appears to be slightly off. Fortunately, the repair is not too difficult.
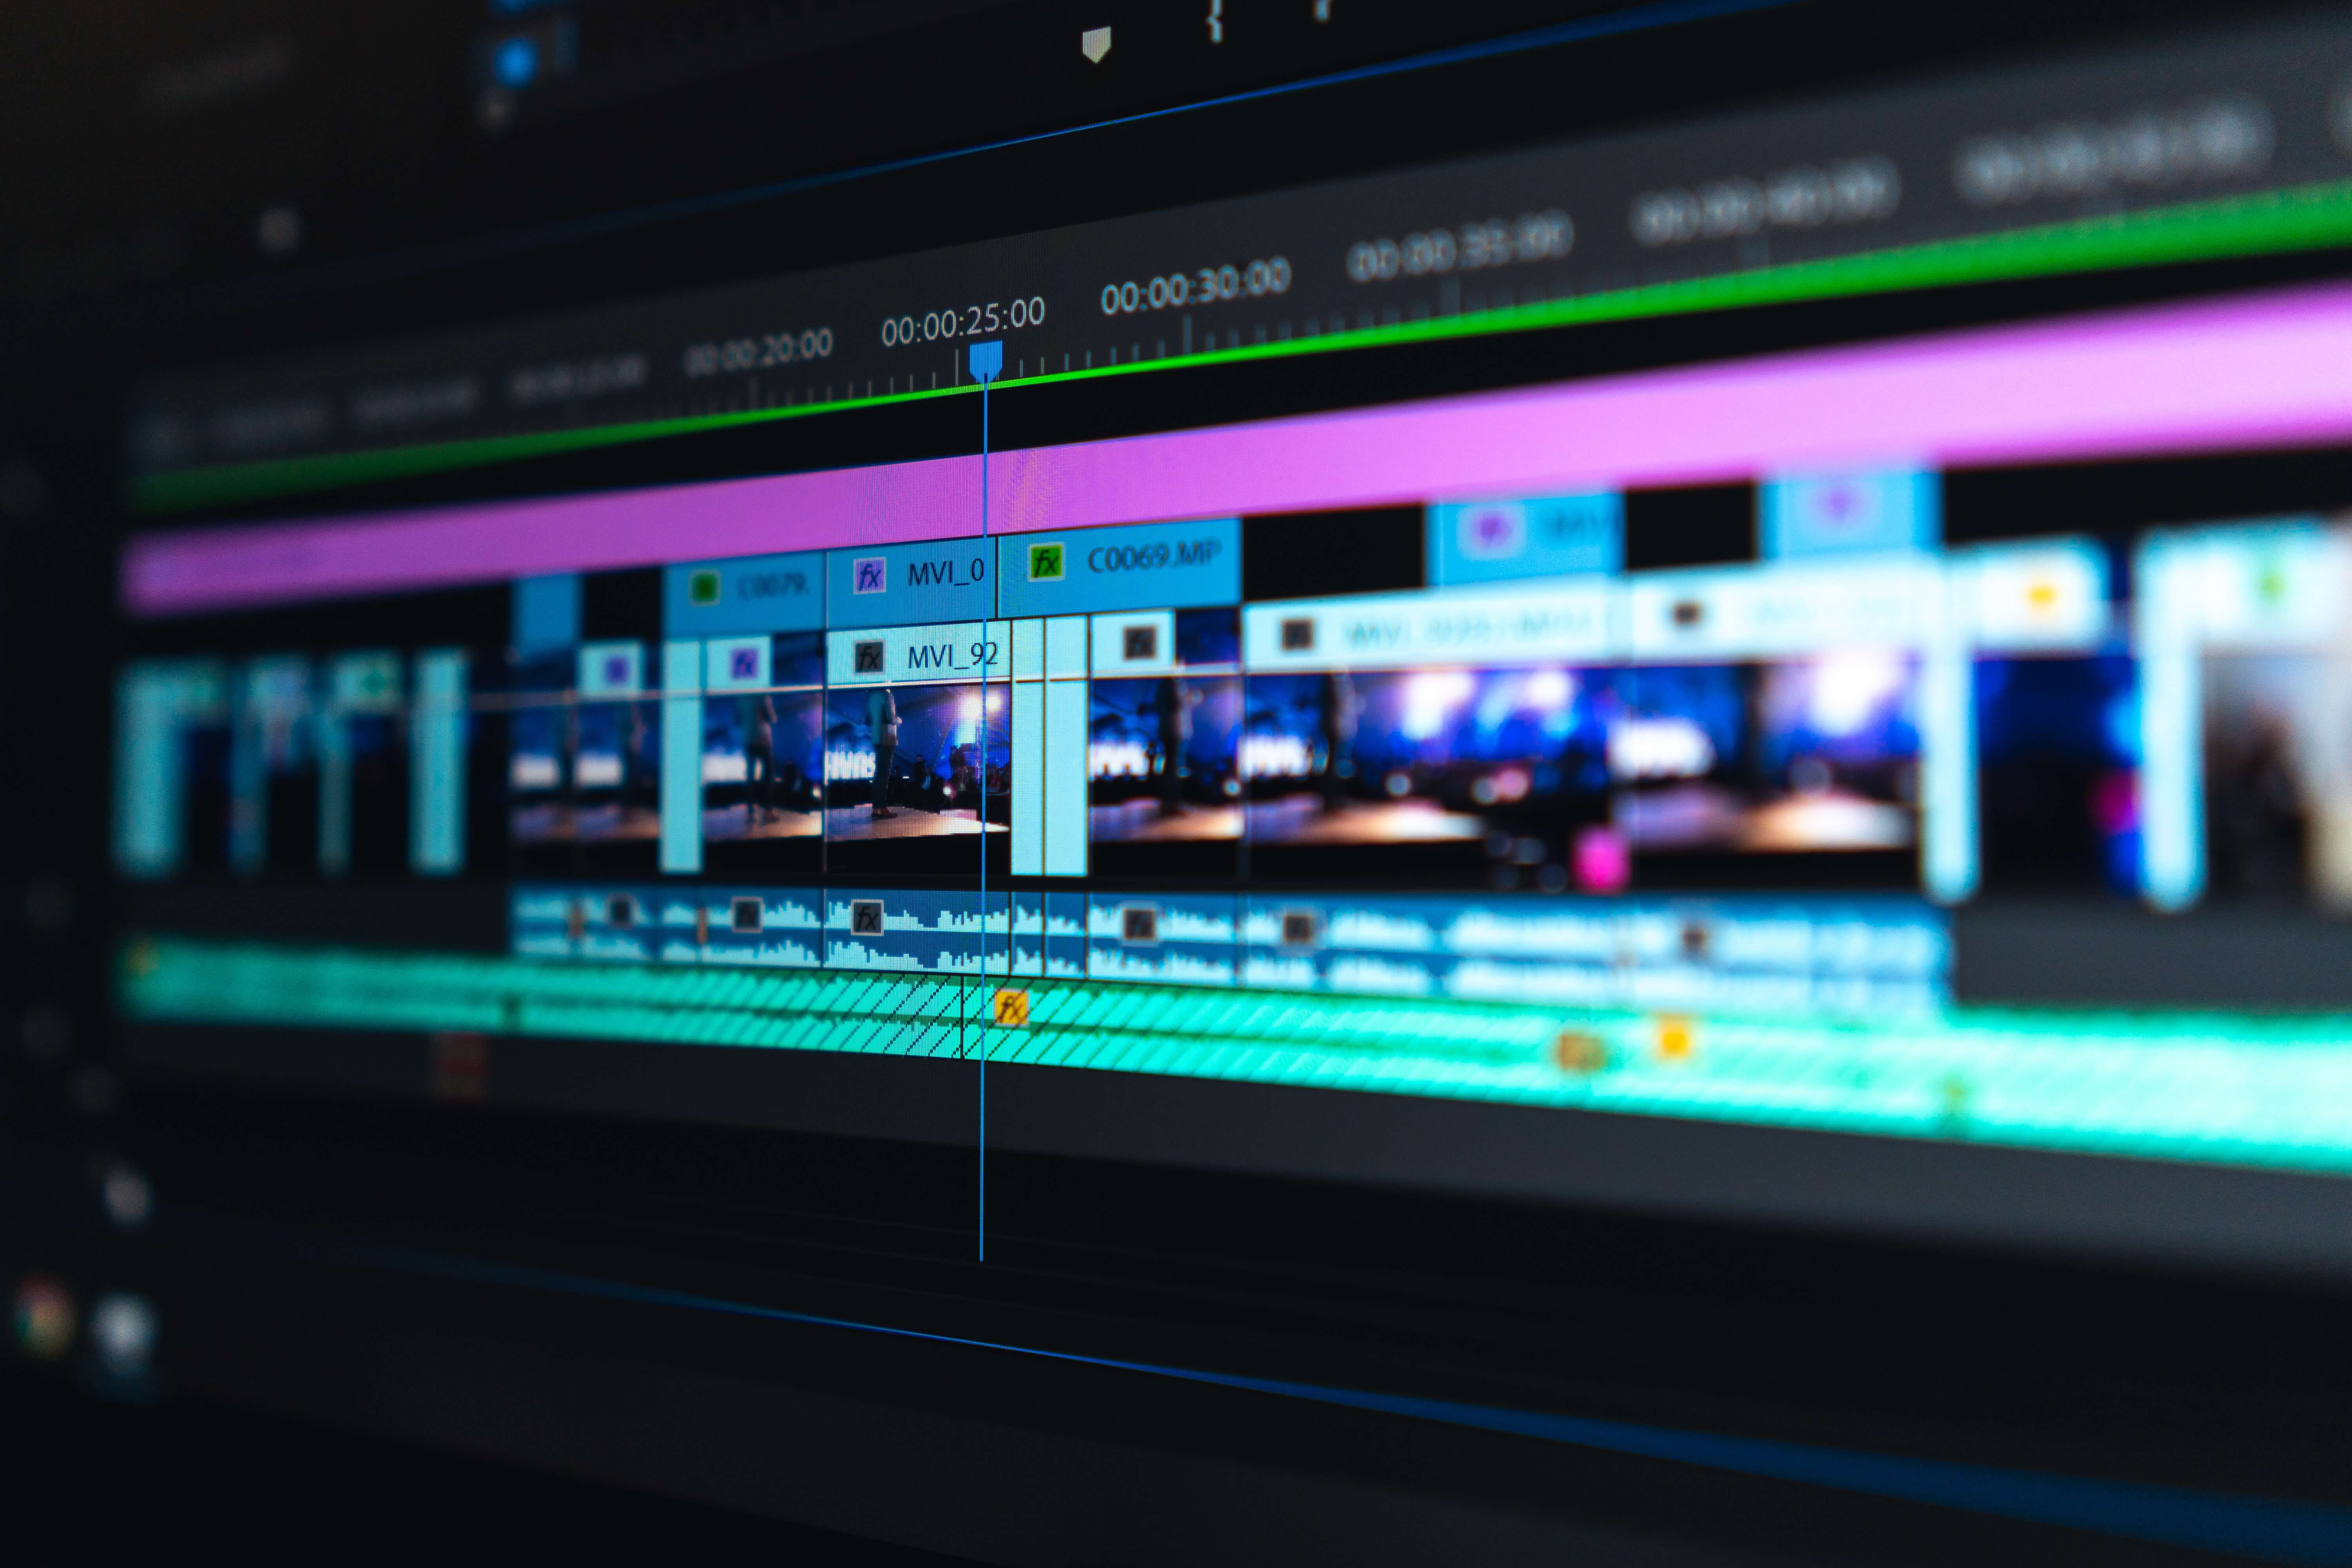
Here is a fast guide that explains how to use some of Adobe Premiere Pro's default options to correct a crooked horizon.

Tip one: Zoom In
You canrotate the image with the space you need by zooming in. pick the clip you want to edit in Premiere Pro, then pick the Effects Controls tab in the upper left. The Scale option is accessible from there. Simply adjust the scale from 100 percent to, say, 110 percent to begin without establishing any keyframes.
Tip two: Adjust the Rotation
You can also change the Rotation controls, which are located a few lines below the Scale option, after you've given yourself some breathing room. This is the quickest method in Premiere Pro, allowing you to give it a genuine eye test. Other programs or ways can provide you a bar-line option to trace points to automatically construct a line.
Adjust the Rotation by a few degrees. If you use positive values, the picture will rotate to the right; negative numbers will rotate to the left. Once you've gotten it near, you can even finetune it slightly.
It involves a lot of trial and error. By enlarging the program image, you may evaluate your image to a greater extent.
Tip three: watch out for corners
The reason we initially zoomed in is because, when you begin to rotate your image, you'll notice that, if you do so too much, the video will display black bars in the corners. If you notice them, it simply signifies that you haven't zoomed in enough or that your rotation may be being overcompensated.


