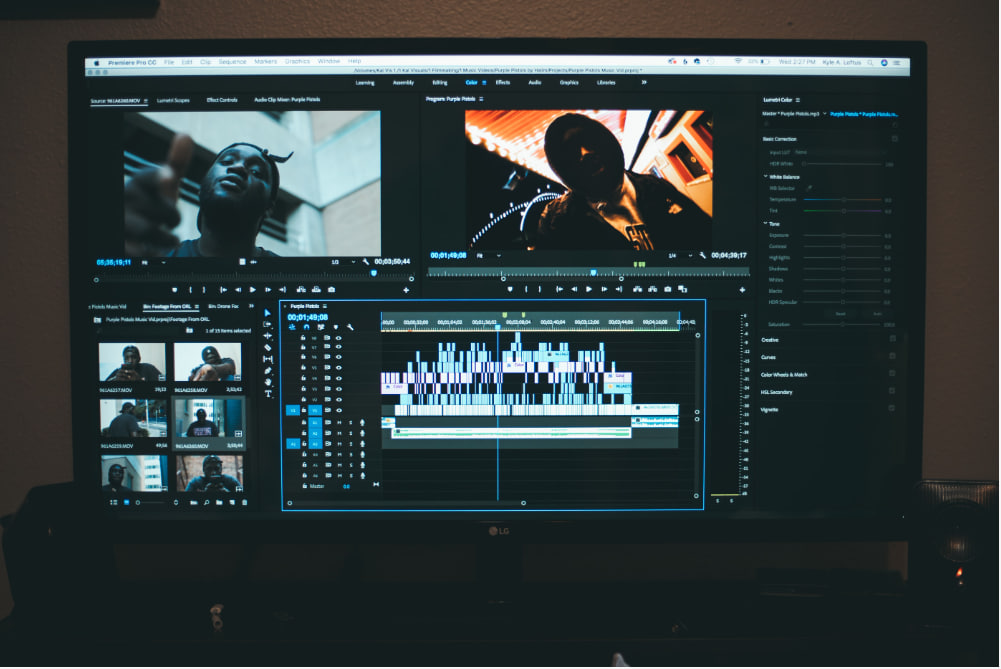
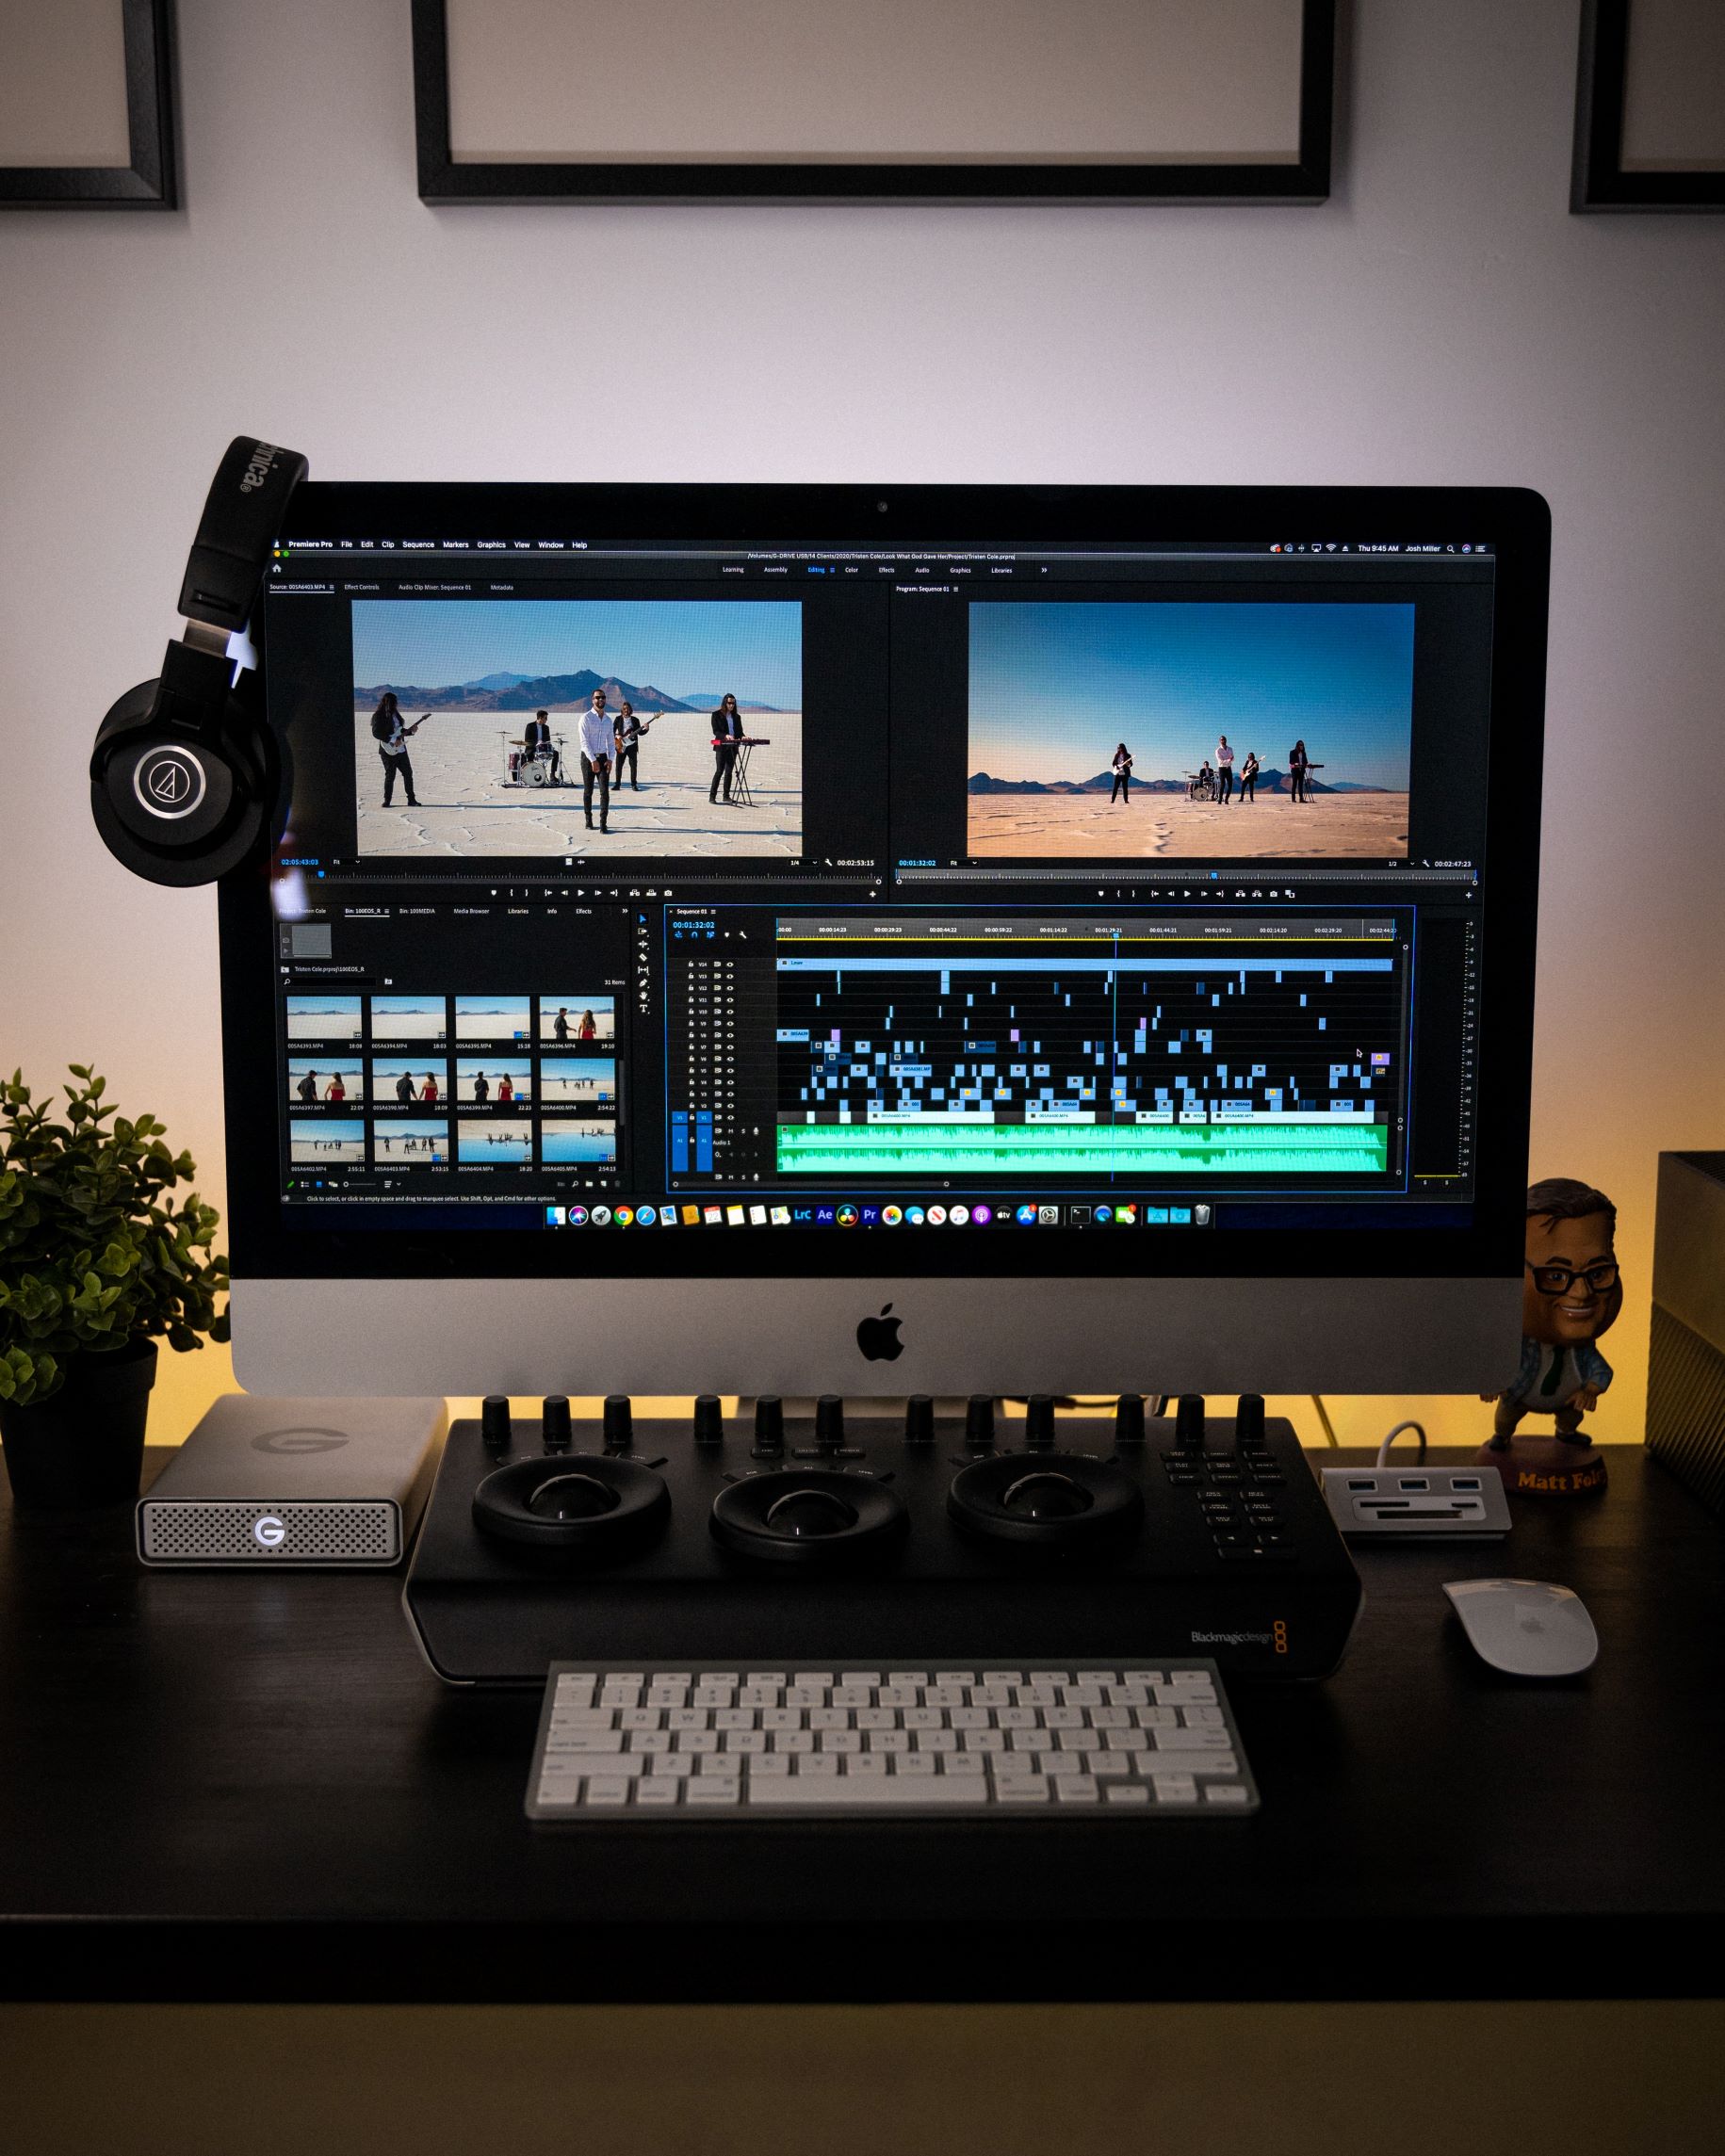
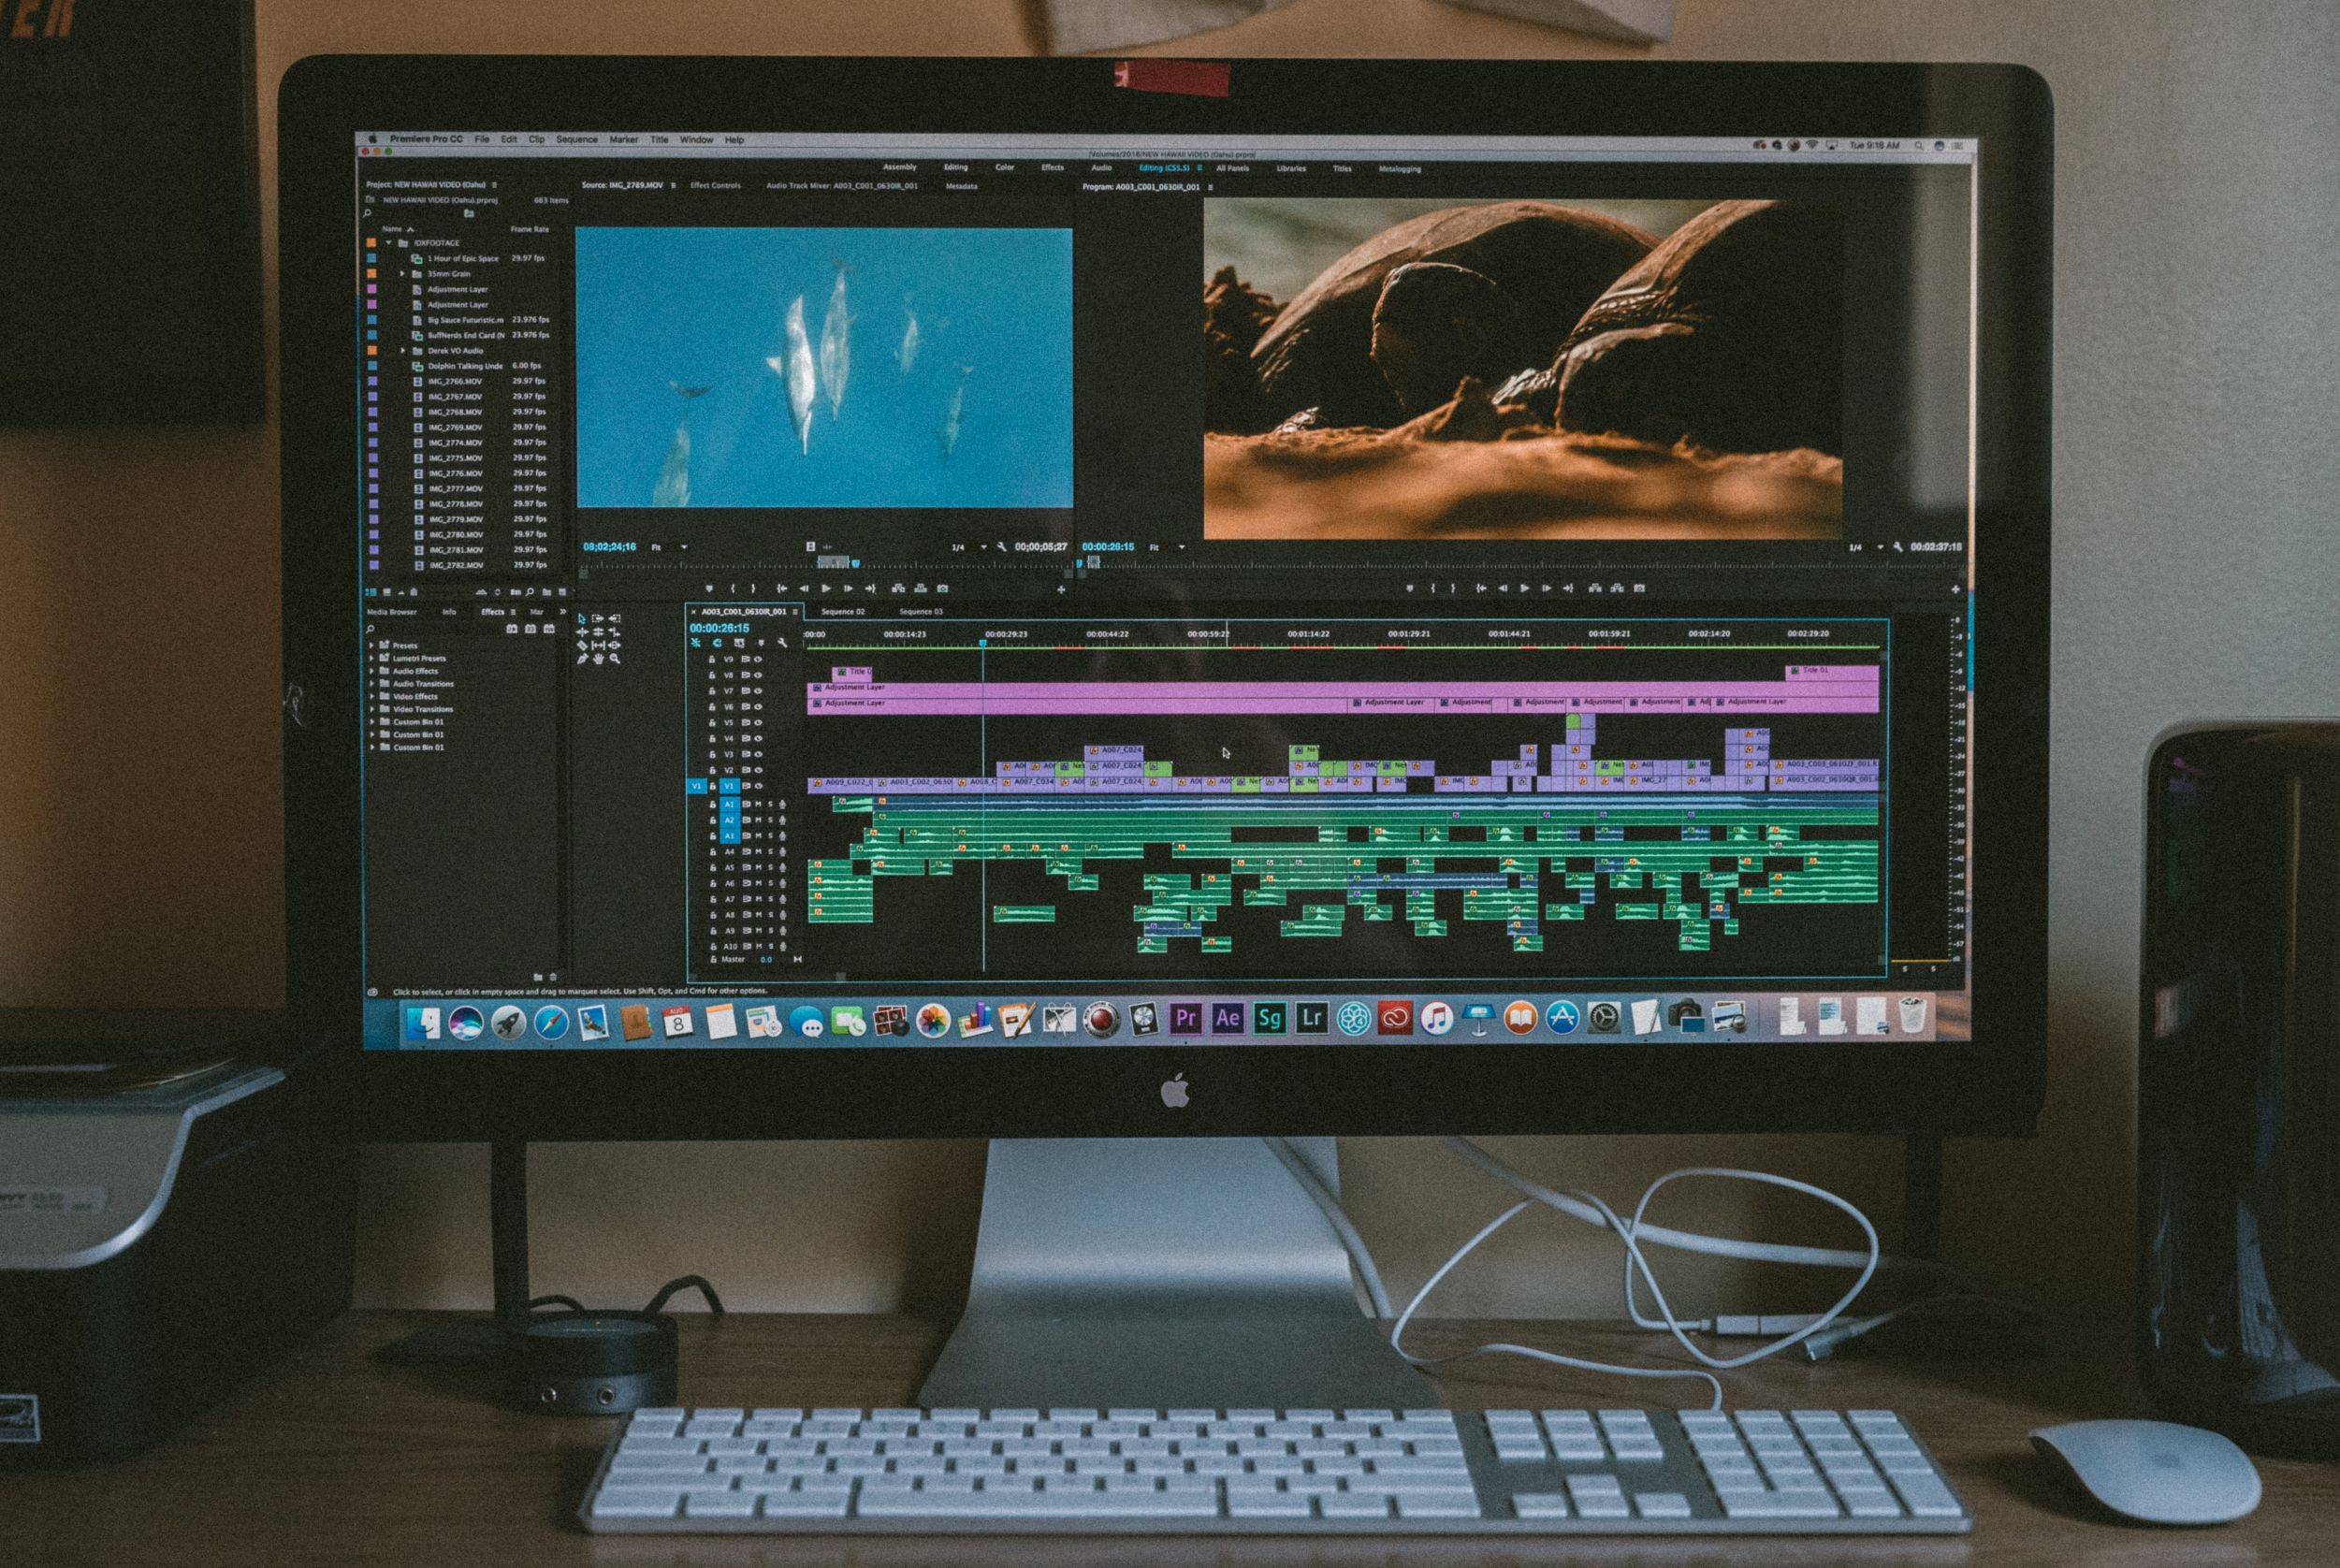
- 5 Must-know Premiere Pro Tips and Hacks
- 1. Custom Presets
- How to Create a Custom Preset
- The Advantages of Using Custom Presets
- 2. Double-click Effect
- Advantages of Double-click Effect
- 3. Keyboard Shortcuts
- The Advantages of Using Keyboard Shortcuts
- 4. Audio Gain
- How to Use Audio Gain
- Advantages of Using Audio Gain
- 5. Adjustment Layers
- How to Use Adjustment Layers
- The Advantages of Using Adjustment Layers
- 6. Use Proxies to Speed Up Performance
- 7. Reduce Lag in Premiere Pro
- 8. Sync Audio in Premiere Pro
- 9. Keyframe Effects
- 10. Organize Your Files in the Project Panel
- 11. Time Remapping
- 12. Masking Effects
- 13. Timeline Nesting
- Premiere Pro Tips FAQ
- How do I get started with Adobe Premiere Pro?
- How do I create a new project in Premiere Pro?
- What is the Nest feature in Premiere Pro and how do I use it?
- What are the most commonly used shortcuts in Premiere Pro?
- What are the best export settings for high-quality Premiere Pro videos?
- How do I apply color grading in Premiere Pro?
- How can I avoid issues when exporting videos in Premiere Pro?
- What are the most popular effects to use in Premiere Pro?
5 Must-know Premiere Pro Tips and Hacks
When it comes to editing videos, Adobe Premiere Pro is one of the most popular software programs in the industry. Whether you’re just learning how to edit clips in Premiere Pro or you’re a seasoned pro looking to streamline your workflow, these Premiere Pro tips will help you work faster and more efficiently. By mastering a few premiere pro tips and tricks, you’ll be able to create high-quality videos and tackle projects of any scale. Below, we’ll explore essential pro hacks in Premiere Pro—from creating your own presets to organizing files in the Project Panel—so you can take your editing to the next level.
1. Custom Presets
Custom Presets are a real game-changer if you want to speed up your editing process and maintain a consistent look across different projects. By using Premiere Pro to create and save specific settings, you can instantly apply them to new clips or sequences without having to start from scratch each time. This is especially helpful if you frequently use the same visual or audio adjustments.
How to Create a Custom Preset
To create your own preset, follow these steps:
- Go to the Effects panel.
- Locate the effect you want to save (for example, a color correction or a specific transition).
- Right-click on the effect and select “Save Preset.”
- Name your preset and include any relevant notes.
- Click OK to save.
You can also create a preset by dragging an effect from the Effects panel onto a clip, adjusting the settings in the Effect Controls panel, and then clicking on the “Presets” icon to save it for future use.
The Advantages of Using Custom Presets
- Time-saving: Quickly apply the same settings across multiple clips.
- Consistency: Ensure all your videos share a similar look and feel.
- Experimentation: Try different styles without redoing the same steps repeatedly.
- Easy sharing: Exchange presets with other editors or use them across various projects.
2. Double-click Effect
The double-click effect is an often-overlooked yet powerful feature. Instead of dragging and dropping effects onto your clips, simply double-click on an effect in the Effects panel to apply it to the selected clip in the timeline. This small tweak can speed up your editing process significantly, especially if you apply effects frequently.
Advantages of Double-click Effect
- Speed: Rapidly apply effects without extra clicks or steps.
- Workflow: Stack multiple effects quickly without needing to nest clips.
3. Keyboard Shortcuts
One of the best adobe premiere pro tips you can learn is how to utilize keyboard shortcuts. They are essential for any editor who wants to work quickly and reduce repetitive mouse movements. Whether you’re a beginner exploring how to edit clips in Premiere Pro or a seasoned professional, shortcuts can enhance your productivity and reduce editing fatigue.
- Ctrl + N (Windows) / Cmd + N (Mac): Create a new project.
- Ctrl + I (Windows) / Cmd + I (Mac): Import files.
- Ctrl + E (Windows) / Cmd + E (Mac): Export media.
- Ctrl + Shift + N (Windows) / Cmd + Shift + N (Mac): Create a new sequence.
- Ctrl + 1 (Windows) / Cmd + 1 (Mac): Open the Project panel.
- Ctrl + 2 (Windows) / Cmd + 2 (Mac): Open the Timeline panel.
- Ctrl + 5 (Windows) / Cmd + 5 (Mac): Open the Effects panel.
The Advantages of Using Keyboard Shortcuts
- Efficiency: Get more done in less time.
- Reduced mouse fatigue: Fewer clicks mean fewer repetitive strain injuries.
- Improved workflow: Maintain focus and creative flow.
- Consistency: Use the same shortcuts across multiple projects.
4. Audio Gain
To balance out different audio levels or make certain tracks stand out, you can leverage the Audio Gain feature in Premiere Pro. This simple but powerful tool lets you boost or lower volume for individual clips without affecting others in your sequence. It’s especially useful when you need to standardize audio levels across multiple files.
How to Use Audio Gain
- Select the audio clip in your timeline.
- Click the “Audio Gain” button in the toolbar or right-click and choose “Audio Gain.”
- Use the slider (or input a specific number) to adjust the gain level.
- Click OK to apply changes.
Advantages of Using Audio Gain
- Non-destructive edits: Changes can be reversed or modified anytime.
- Consistent sound: Even out volume spikes or dips across different tracks.
5. Adjustment Layers
Adding Adjustment Layers is one of the most powerful premiere pro editing tips to create global changes in your project. For instance, if you want a vignette or color grade applied to multiple clips, place the effect on an adjustment layer rather than each clip individually. This approach saves time and offers more flexibility when refining or removing the effect later.
How to Use Adjustment Layers
- Go to File > New > Adjustment Layer (or use the Project Panel menu).
- Drag the Adjustment Layer onto your timeline above the clips you want to affect.
- Add any effect to this layer (e.g., vignette, color grading, etc.).
- Fine-tune the settings in the Effect Controls panel as needed.
- Trim or move the layer to adjust which clips it covers.
The Advantages of Using Adjustment Layers
- Global changes: Apply the same effect to multiple clips at once.
- Non-destructive: Your original footage remains untouched.
- Time-saving: Make one change instead of editing each clip individually.
- Flexibility: Stack multiple effects and easily enable or disable them.
6. Use Proxies to Speed Up Performance
If you’re working with high-resolution footage, using Premiere Pro proxies is one of the best premiere pro tricks for smoother playback and faster editing. Proxies are lower-resolution versions of your clips that allow you to edit without straining your system. When you’re ready to export, Premiere Pro will switch back to the full-resolution files automatically.
7. Reduce Lag in Premiere Pro
Video lag can disrupt your workflow and hamper creativity. To reduce lag, close any unnecessary background applications, allocate sufficient RAM in the Preferences panel, and keep your cache files on a fast storage drive. Another essential premiere pro tips and tricks approach is to periodically clean your media cache, ensuring Premiere Pro can run smoothly.
8. Sync Audio in Premiere Pro
Recording audio separately and syncing it in post is common practice. Premiere Pro’s built-in syncing tool automatically aligns audio waveforms from different sources, saving you time and ensuring perfect lip-sync. Always remember to label your clips clearly and group them to avoid confusion later on.
9. Keyframe Effects
Keyframing allows you to animate changes over time—whether it's volume, position, or an effect’s intensity. By strategically placing keyframes at different points, you can create dynamic transitions and highlight important segments within your video. Mastering this will significantly elevate your editing, making your project feel more polished and professional.
10. Organize Your Files in the Project Panel
Keeping your media organized is a simple yet powerful adobe premiere pro how to technique that can save you endless hours. Use bins in the Project Panel to categorize footage, audio, graphics, and sequences. This small habit not only helps you find files quickly but also keeps your timeline uncluttered.
11. Time Remapping
Time Remapping is the secret sauce for creating dramatic slow-motion or speed ramp effects. Select a clip, enable “Time Remapping” under the Effect Controls, and add keyframes to speed up or slow down specific parts. This technique is perfect for highlighting action scenes or transitioning between different moments smoothly.
12. Masking Effects
With masking effects, you can apply adjustments to specific areas of the frame, such as blurring out a face or color-correcting one region. Make precise selections using the pen or shape tools, and then track them across frames. This feature is invaluable for professional-level post-production, especially when you need to keep certain parts of your footage private or stylized.
13. Timeline Nesting
Nesting is an often underused method for streamlining complex sequences in Premiere Pro. You can combine multiple clips into a single nested sequence, simplifying your timeline’s layout. This is particularly useful for applying collective effects or transitions, making your workflow more efficient when dealing with large projects.
Premiere Pro Tips FAQ
How do I get started with Adobe Premiere Pro?
First, download and install Premiere Pro. Familiarize yourself with the interface by exploring the Project Panel, Timeline, and Effect Controls. Then, follow basic tutorials on how to edit clips in Premiere Pro to understand importing media, making cuts, and using essential tools.
How do I create a new project in Premiere Pro?
Open Premiere Pro and select “New Project”. Name the project, choose a save location, and verify your scratch disk settings. Click OK to get started on a fresh timeline.
What is the Nest feature in Premiere Pro and how do I use it?
Nesting lets you group several clips into a single nested sequence. Highlight the clips, right-click, and choose “Nest”. This helps organize your timeline and makes it easier to apply global effects.
What are the most commonly used shortcuts in Premiere Pro?
Common shortcuts include Ctrl + N (new project), Ctrl + I (import), and Ctrl + E (export). Learning these and other shortcuts, like Ctrl + Shift + N for a new sequence, greatly speeds up your workflow.
What are the best export settings for high-quality Premiere Pro videos?
Aim for H.264 format with a high bitrate, especially if you’re uploading to platforms like YouTube or Vimeo. Matching your source settings also preserves quality. Always do a quick test export to check the final look.
How do I apply color grading in Premiere Pro?
Use the Lumetri Color panel to adjust exposure, white balance, and color curves. You can also apply creative LUTs and refine with additional settings. Adjustment layers are a great way to color-grade multiple clips at once.
How can I avoid issues when exporting videos in Premiere Pro?
Ensure your sequence settings match your footage and final export needs. Update your Premiere Pro software, clear your media cache regularly, and choose the correct codec to prevent errors and long render times.
What are the most popular effects to use in Premiere Pro?
Some popular premiere pro editing tips include using transitions like Cross Dissolve and Dip to Black, color grading via Lumetri Color, and essential audio effects like Parametric Equalizer. Experiment with premiere pro tricks such as Keyframing to add dynamic motion.
By following these Adobe Premiere Pro tips and practicing often, you’ll be well on your way to mastering how to edit clips in Premiere Pro for any project. From Custom Presets to Timeline Nesting, each technique enhances your workflow in unique ways. Don’t hesitate to explore new Premiere Pro tricks and keep refining your skills. Happy editing


