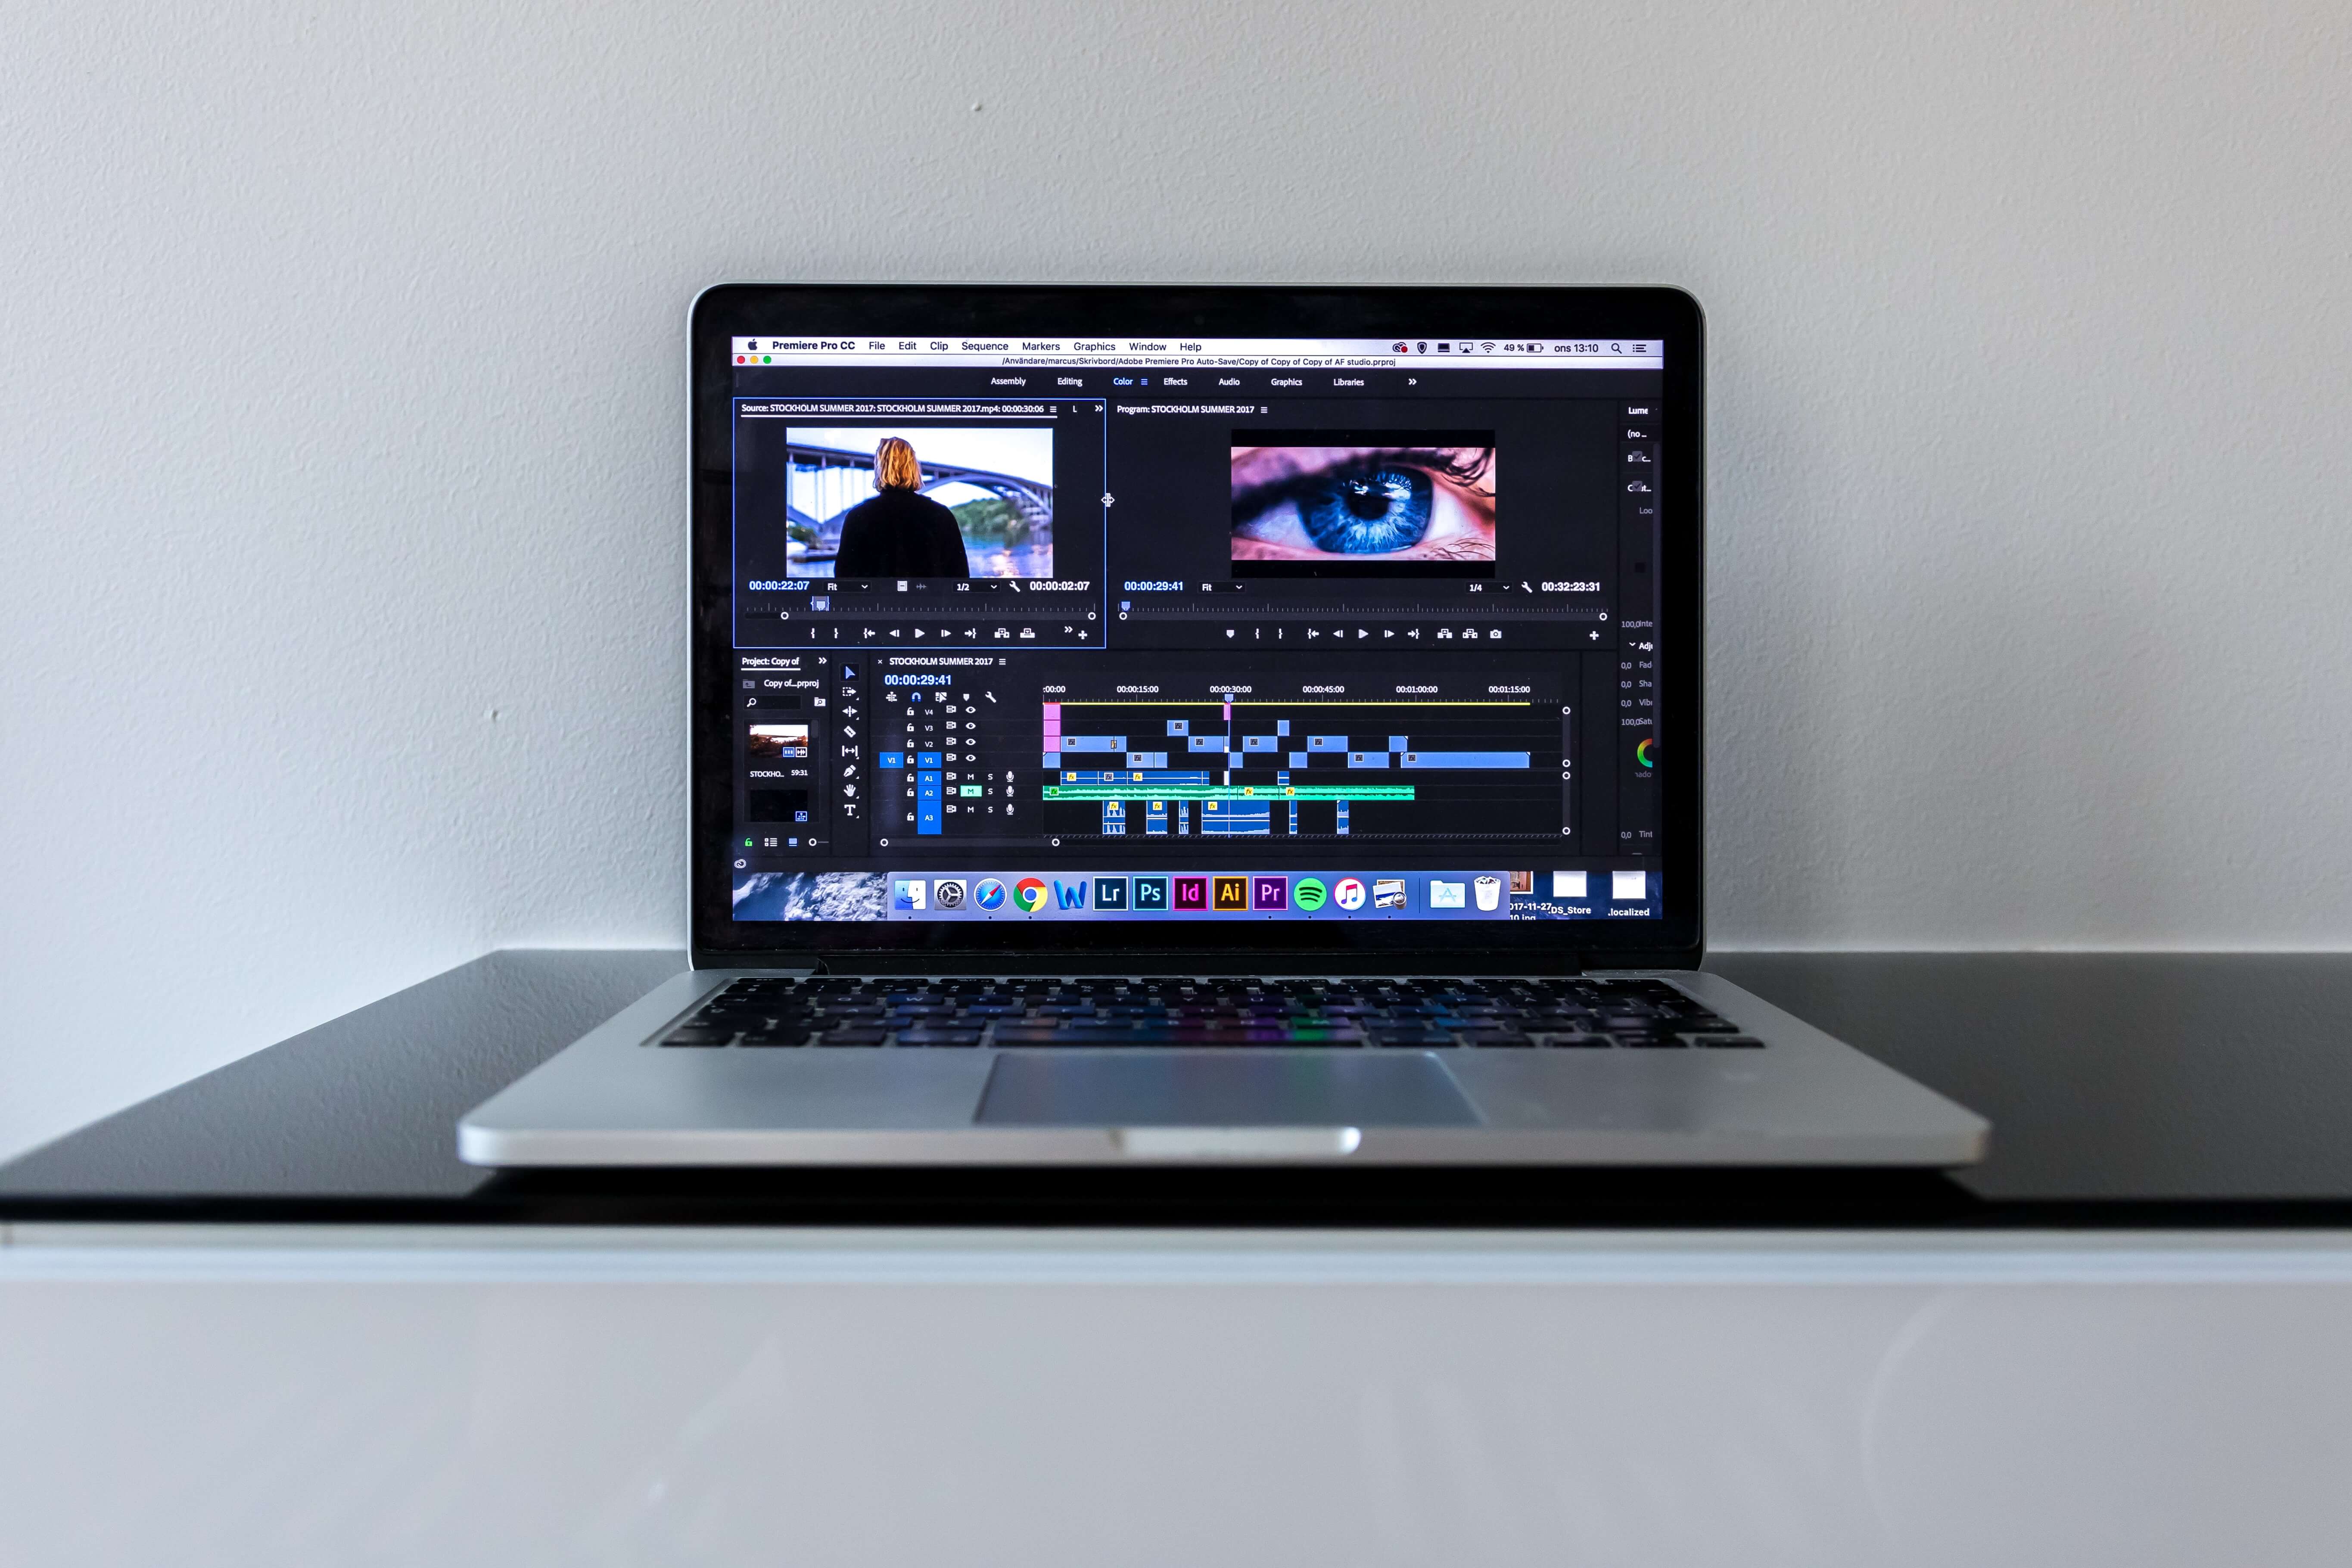
One more step remains after your edit is finished and prepared for distribution, and you can use Premiere Pro to export a completed video.
With so many options available in the export menu, it can become difficult to get the hang of exporting with Premiere.
But it's not as difficult as it seems, though. You can do it in these simple steps just one time, and then you won’t have any problem with doing it even faster.

Step One
Open the File top menu, choose “Media”. Don’t forget to make sure you have your sequence selected on the timeline at this point.
Your window for export settings will open as a result. Prior to submitting the video to Media Encoder for export, you can choose the desired preferences for it in this window.
Step Two
The first thing to think about when exporting a video is where it will be distributed and how it will be viewed.
The features of the exported video must be determined in part by the delivery destination. Both Premiere Pro and Media Encoder come pre-installed with a ton of helpful presets. These presets let you rapidly select parameters for your exported file according to the final destination of your video.
Just choose the preset that fits you the best and start rendering.
Step Three
Also, you can export using custom parameters. It's not that these other ideas aren't workable ones ‒ you just want to make sure the video is perfectly tailored to your requirements. You can gain more from modifying the export process so that the final file is more universal and you can upload and distribute it to more sources.
Step Four
The H.264 codec is your go-to for any online playback. Choose it, and then move to the dimensions selection.
The universal solution is to choose a 1080p dimension with 29 fps. If you need your video to be even more detailed, choose the higher parameters.
To choose an output name for the exported video file, click the output name button. In order for the file to have both video and audio, make sure both Export Video and Export Audio boxes are checked.
You can adjust the settings in this window if you feel comfortable making them more individualized.
Check the Render at Maximum Depth box. Your render time will increase as a result, but Premiere will take extra care to export your video as neatly as possible and reduce appearance of artefacts.
Step Five
Your file size is determined by the bitrate. If you require a smaller file size, you can reduce your bitrate to reduce the size of the video. To get the greatest copy possible when exporting a master copy, export at a high bitrate and see the difference.
Premiere will go over your timeline twice if you select the second pass option to make sure there are no damaged frames and that your export is error-free.

Step Six
There are now two export choices in Premiere Pro: Queue and Export. The sequence will be placed to a queue in Adobe Media Encoder when you choose Queue. The export will then begin after you click the green button at the top. This is advantageous if you wish to export several Premiere Pro sequences at once.
As Media Encoder exports in the background, you are still able to work in Premiere Pro.
By choosing Export, the sequence is simply exported from that window to any folder you choose. Premiere Pro won't work while it exports in this manner.
Step Seven
If you frequently use a custom setting, you can save it as a new preset. Click the Save Preset button next to the preset drop-down in the export window.
You can then name the preset whatever you like. Now, you can use that saved preset in the future.


