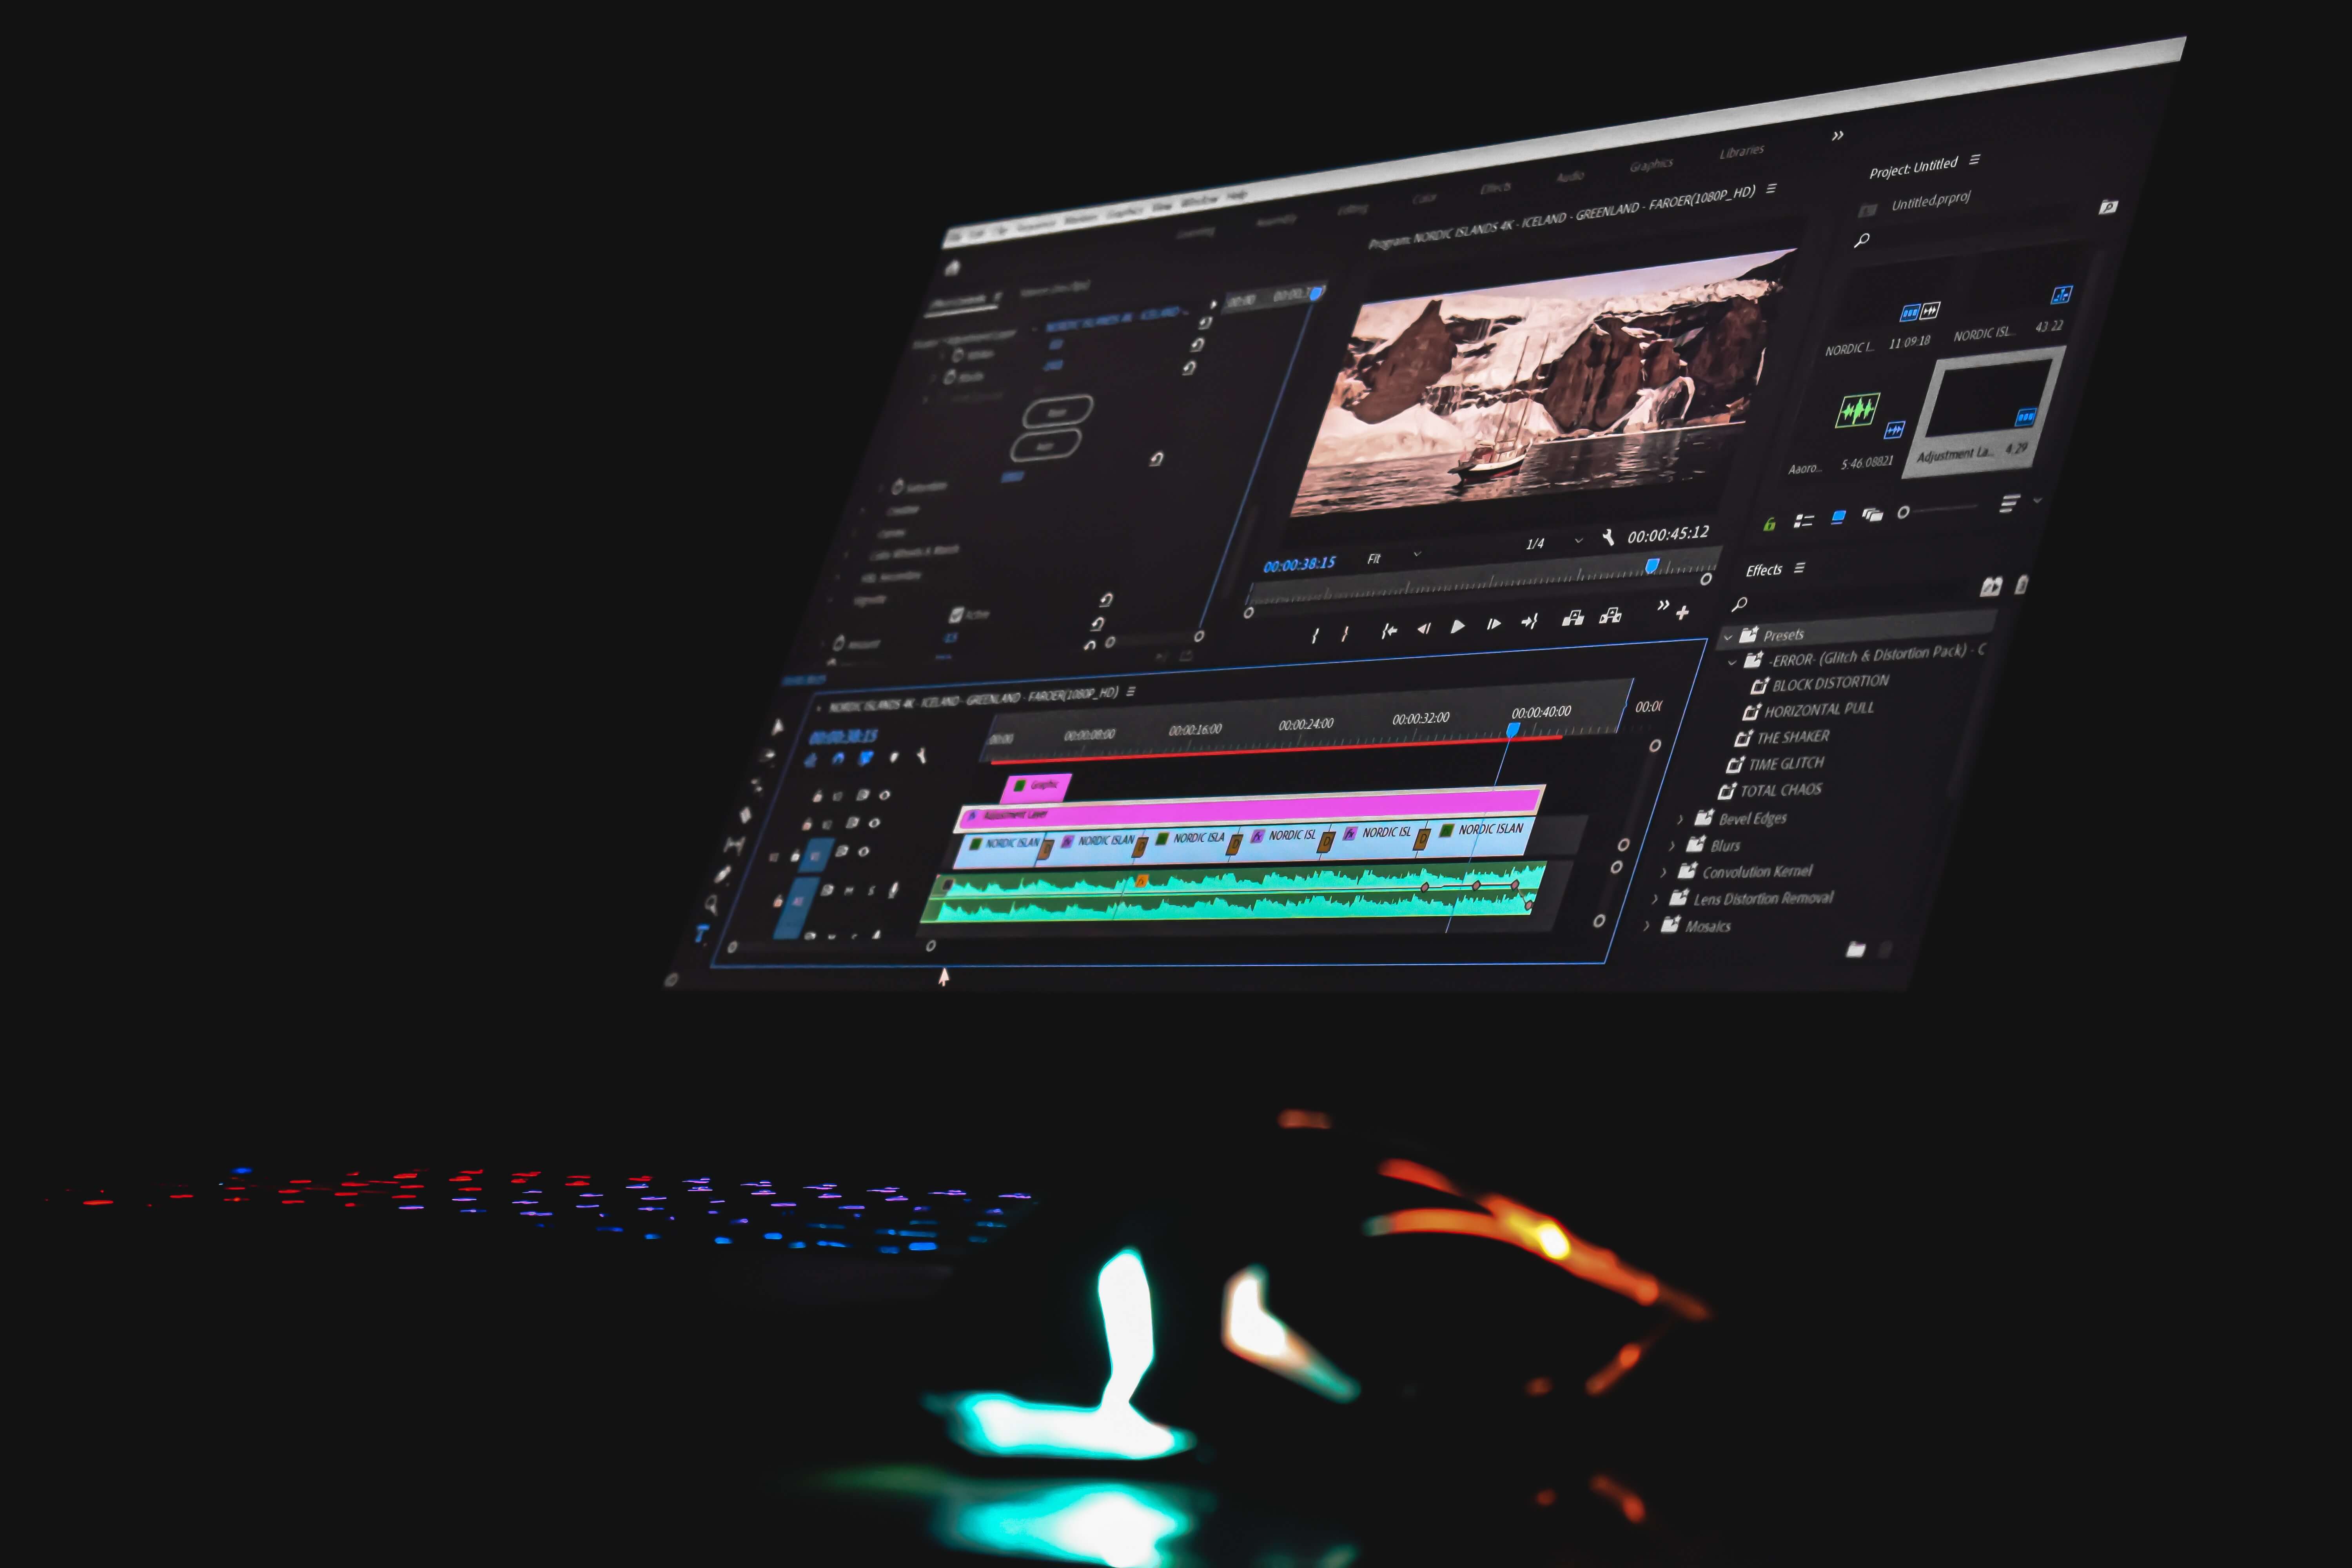
To edit videos using Premiere Pro, most users prefer a keyboard and mouse. This makes sense because the majority of tasks generally call for both. However, there are other controls as well, so why not explore them in detail?
Sure, some editors prefer solely using their keyboard and mouse, while others switched to Wacom tablets or a keyboard-only interface. Let's review the steps to take and some advantages to experience if you decide to transition to a more effective workflow.

So, how exactly can you optimize your workflow?
A mouse's essential hand posture can cause repetitive strain injury. Carpal tunnel syndrome is a painful syndrome that produces persistent pain that can develop over time as a result of hours of everyday mousing.
Your first option is to switch to a Wacom tablet. If you’re unfamiliar with it, think of it as of standalone touchpad with a stylus. With additional hotkeys on the control surface, the tablet offers the best functionality for digital artists.
Because they accurately reproduce how a hand would naturally rest on a pen, Wacom tablets are fantastic. The surface underneath supports the wrist and arm, and rotation rather than pressing down is used to make contact with the tablet. The buttons of a Wacom can be programmed, much like a mouse, which is yet another benefit.
Additionally, Premiere Pro offers the option of a keyboard-only approach. Your editing process can be significantly sped up, and those benefits will only improve the longer you do it and use more hotkeys. Time savings are made by ditching the time-consuming and repetitive switching between a pen and a keyboard because a pen needs to be "docked" to avoid putting a mouse away.
You should anticipate some initial sluggishness while converting to a keyboard-only workflow. However, the momentary slowdown experienced when learning a new technique is more than compensated for by the eventual increase in speed that follows.
A mouse is still required to launch projects, set up timelines, and import material. But when you need to go through and gather highlights from a lengthy take, such as one from a documentary shot or a piece to camera, you can freely use the "keyboard-only" option.With this method, you can edit ten minutes of raw footage in under five minutes or twice as quickly as it took to get it shot. So, let’s see how you can start using this approach.

How to implement the keyboard-only interface?
Waveforms are the first component you will require since they will show you where breaks and other flaws in the footage are located. Make sure the “Show Audio Waveforms” feature is enabled by clicking the wrench icon located above the top video track in your project's timeline.
The next step is to switch the V key to Add Edit by opening Keyboard Shortcuts in the Premiere Pro menu.
The J and L keys, which also play the audio, and the Shift + Arrow keys, which do not, can now be used to move through your clip. These shortcuts forward the scene by five frames by default. You can change this to twenty, ten, or one frame in the Preferences menu, the Playback settings option.
Use one of these approaches to get to the first location you wish to cut and click V. Next, simply play your clip ahead, past the section you wish to cut, and press either Q or W. Everything before and after your playhead will be trimmed using the Q and W keys, respectively.
Simply press X to pick the portion of the clip you would like to remove, then press the apostrophe key (') to cut it and reconnect the two sides if necessary.
You can immediately tell which parts of the video clip are dialogue and which are just dead air by looking at the waveforms. This can come in handy if you're editing dialogue scenes.
It might take some time to figure out the most needed shortcuts and get used to using the keyboard to edit in this manner, but without the continual switching, the editing process will be quicker and perhaps more effective.
Shift+Z is another useful keyboard shortcut in Adobe Premiere Pro that will zoom out to display the whole timeline. The export timeline dialogue box can be opened by pressing Command+M (or Ctrl+M if you're a Windows user). Additionally, picking a track while holding down the Option button prevents you from selecting the associated audio or video track, so you can drag and drop the video separately from the audio track and the opposite.
As you can see, you can cut short your use of numerous seconds spent on moving a mouse just by using keyboard shortcuts or a Wacom tablet. Which interface option is better, is still for you to decide, but we highly recommend you try implementing keyboard shortcuts into your editing process ‒ you will definitely appreciate the difference they make!


